
In this tutorial you will learn about the ReactJS Router and its application with practical example.
ReactJS Routing
Routing is the process where user is directed to or rendered different pages based on user action/requests. In React, we can build Single Page Application (SPA) where web app loads a single page and dynamically updates that page as the user interacts with the web app.
ReactJS Router
ReactJS supports Single Page Application (SPA) using react router package. Router package helps directing users to different pages based on the url. When a user requests a specific url, the routing engine captures that url and renders the view based on the routes defined without reloading the entire application.
In this tutorial, we will building a single-page application to understand basic react routing concepts.
Step 1:- Lets create a new React project and switch to project directory using following command –
|
1 2 |
create-react-app spa cd spa |
Step 2:- Let’s open the terminal again, change directory to your project folder and type the following command in order to run the server.
|
1 |
npm start |
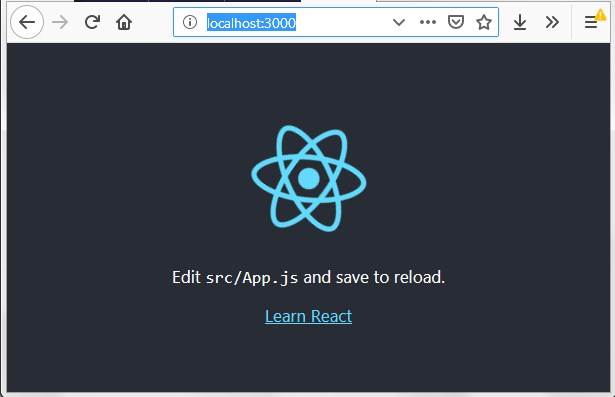
Step 3:- Now open the following URL in browser to view the output
http://localhost:3000
You will see the following screen.
React Router Installation
React Router comes into three different packages react-router, react-router-dom, and react-router-native with it. The react-router package enables the core routing components and functions for React Router applications, we never need to install it directly. The other two react-router-dom (browser specific) and react-router-native are environment specific. Since, we are building a web application, so we will install react-router-dom.
Step 4:- Install react-router-dom and save them as dependencies using following command –
|
1 |
npm install react-router-dom |
Step 5:- Let’s open src/App.js, delete the existing code and put the following code in it and save it.
|
1 2 3 4 5 6 7 8 9 10 11 12 13 14 15 16 17 18 19 20 21 22 23 24 25 26 27 28 29 30 31 32 33 34 35 36 37 38 39 40 41 42 43 44 45 46 47 48 49 50 51 52 53 54 55 56 |
import React, { Component } from 'react'; import { BrowserRouter as Router, Route, Link } from "react-router-dom"; const Home = () => { return ( <div> <p>Home</p> </div> ); }; const About = () => { return ( <div> <p>About</p> </div> ); }; const Contact = () => { return ( <div> <p>Contact</p> </div> ); }; class App extends Component { render() { return ( <Router> <div> <h1>W3Adda - Simple SPA</h1> <nav> <ul> <li> <Link to="/">Home</Link> </li> <li> <Link to="/about">About</Link> </li> <li> <Link to="/contact">Users</Link> </li> </ul> </nav> <Route path="/" exact component={Home} /> <Route path="/about" component={About} /> <Route path="/contact" component={Contact} /> </div> </Router> ); } } export default App; |
Here, in the above code following line of code –
|
1 |
import { BrowserRouter as Router, Route, Link } from "react-router-dom"; |
Imports the following components in order to setup React Router –
BrowserRouter :- In React Router, for browser based projects there are two router components <BrowserRouter> and <HashRouter> are available. The <BrowserRouter> router is used for dynamic URL’s, while the <HashRouter> router is preferred for static websites.
Route :- The <Route> is one of the key component of React Router, it is used to define and render content based on the paths specified. It accepts component and render as props to define what should be rendered as the path defined.
|
1 |
<Route path='/page' component={Page} /> |
|
1 2 3 |
<Route path='/page' render={() => { return (<h1> W3Adda </h1>) }}/> |
Link :- The <Link>, component is used to create links, which allows user to navigate to different URL and to render its content without reloading the page.
Now open the following URL in browser again
http://localhost:3000
You will see the following screen.
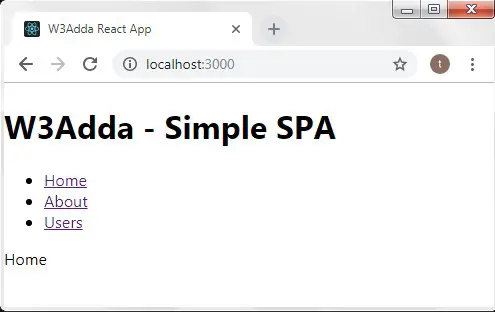
Here, we have simply added three component links, which allows you to navigate different URL and to render its content without reloading the page.
